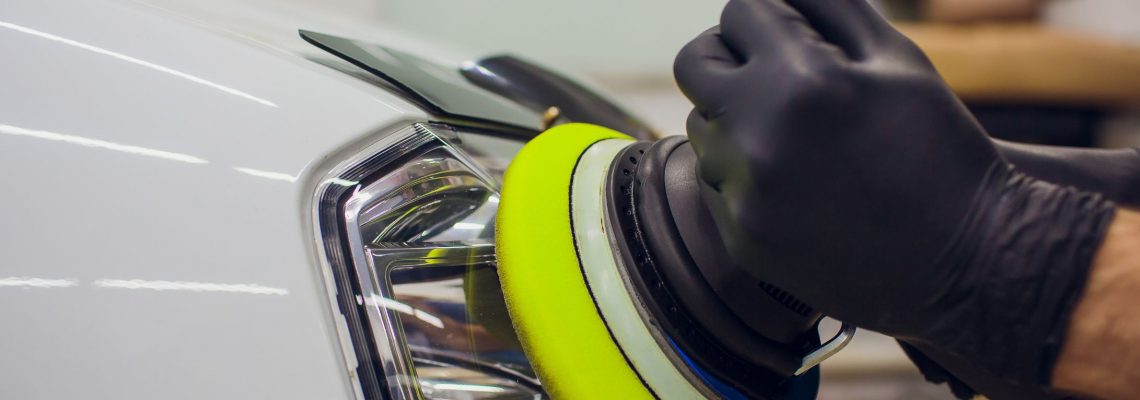
Are your car’s headlights looking a little worse for wear? Perhaps they’re clouded over, dimming your visibility on the road and detracting from the overall appearance of your vehicle. Fear not, because restoring clarity to cloudy headlights is easier than you might think.
Cloudy headlights are a common issue caused by the degradation of the headlight’s outer layer, usually made of polycarbonate plastic. This degradation occurs due to exposure to UV rays, road debris, and other environmental factors over time. Fortunately, you don’t need to replace the entire headlight assembly to solve this problem. With a few simple steps and minimal supplies, you can bring back the shine and improve your nighttime driving visibility.
Firstly, gather your supplies. You’ll need some basic items that you likely already have at home or can easily obtain from a local auto parts store. These include:
Headlight restoration kit: Available at most auto parts stores, these kits typically include sandpaper of varying grits, polishing compound, and a protective coating.
Microfiber cloths: These are gentle on the headlight surface and won’t scratch or further damage the plastic.
Water and mild soap: To clean the headlights before and after the restoration process.
Masking tape: To protect surrounding areas from accidental scratches or damage.
Spray bottle with water: To keep the headlight surface wet during sanding.
Once you have your supplies ready, follow these simple steps:
- Start by cleaning the headlights thoroughly with water and mild soap to remove any surface dirt and debris. Dry them completely before proceeding.
- Use masking tape to protect the surrounding paintwork and ensure you don’t accidentally scratch it during the restoration process.
- Wet the headlight surface with water from the spray bottle to lubricate it, then begin sanding with the coarsest sandpaper included in the restoration kit. Use gentle, circular motions and continue until you see the yellowed or cloudy layer start to come off. Rinse the headlights and sandpaper frequently to prevent buildup.
- Progress through the finer grits of sandpaper, repeating the sanding process until the headlight surface feels smooth and looks clearer. This may take some time and elbow grease, but be patient – the results will be worth it.
- Once satisfied with the clarity achieved through sanding, dry the headlights thoroughly and apply a small amount of polishing compound to a clean microfiber cloth. Buff the headlight surface in circular motions until any remaining haze is removed, and the plastic appears glossy.
- Finally, apply the protective coating included in the restoration kit according to the manufacturer’s instructions. This will help seal the newly restored surface and prolong the clarity of your headlights.
In conclusion, cleaning cloudy headlights is a simple and cost-effective task that can be done in just a few hours with the right tools and techniques. By following these steps, you can improve your visibility on the road and enhance the overall appearance of your vehicle. So why wait? Bring back the shine and clarity to your headlights today!

